When you look at your old magazines and that cardboard box you mean to recycle, you see trash. But, if you look a little harder, you’ll see art. Imagine pages of those magazines on your wall as a colorful collage and that cardboard box as a headboard to add some flair to your bed. You don’t need to stress over finding the perfect decorations to create the room of your dreams. Use items you already have as well some supplies from the craft store to create unique DIY decorations that showcase your style and personality. DIY projects will upgrade your room and turn you into an artist in no time. Someday, you’ll actually tackle those DIY projects on your Pinterest board.
But until that day comes, use these 15 easy DIY projects to add some charm to your space.
1. Wine bottle and fake flowers
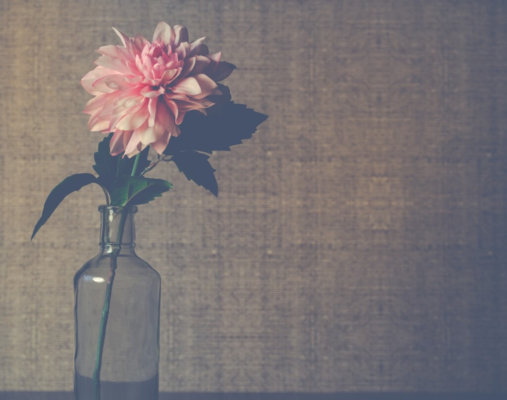
Instead of tossing those wine bottles that you and your friends went through when watching The Notebook, repurpose them instead. Anyone can create this project because of its simplicity, and it will add a classy touch to any room.“I like the wine bottle and flowers because they’re a great way to recycle bottles you’ve already used, and the flowers add brightness to your room without the responsibility of needing to keep them alive,” Temple University senior Mickey Kniskern said. Find any empty bottle that resembles a vase. Buy a few fake flowers from your local craft store and place the flowers in the bottle. Voila—simple as that. This DIY project adds a touch of sophistication and grace to your room because it incorporates the beauty of flowers.
2. Positivity sticky notes
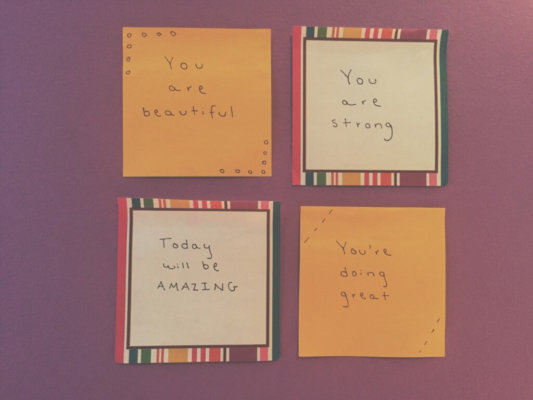
Do you ever feel lower than your organic chemistry grade after a midterm and need some positive reminders? These positivity sticky notes will surely brighten your day. Take colored sticky notes and write positive phrases like, “you are stronger than you think,” “never give up on your dreams” and “create your own sunshine.” You can write as many as you want and then stick them to any surface. Put them in plain sight. Hopefully these sticky notes will lift your spirits, especially during finals. “Putting little positive reminders around my room transformed my routine because the reminders kept me motivated and upbeat. I recommend it to anyone that’s in a rut and wants to make their space more personal to how they’re feeling,” Temple junior Julia Mattia said.
3. Clothes pin picture display
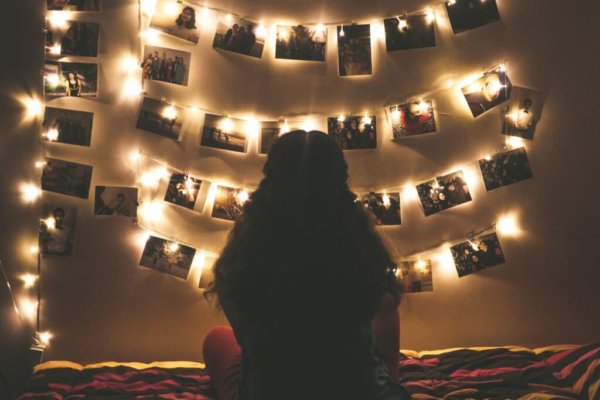
“I like the twine and pictures because they are a cute way to display your memories, but in a way that won’t take up tons of space,” Kniskern said. For this DIY project, you’ll need string, small clothespins and prints of your favorite pictures. You can find the string and clothes pins at your local craft store. You can buy string that matches your school’s colors, string that matches the color palette of your room or you can even use twine for a rustic touch. Check your printer for a photo printing setting to print the pictures for free or print pictures through a company like Shutterfly or Snapfish. Hang the string with command hooks or thumb tacks in any design you want. Once you decide how to position the string, attach the pictures to the string with the clothes pins.
4. Stickers on colored index cards
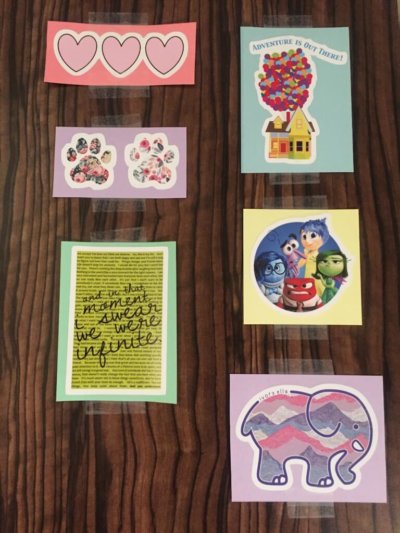
Thanks to the recent obsession with laptop stickers, you can tell so much about a person as soon as they pull out their computer. You can choose from hundreds of different laptop stickers, like quotes, film and T.V. homages and pop culture references, on sites like Redbubble. Sometimes you fall in love with so many stickers that you can’t narrow down the number of laptop stickers that end up in your shopping cart. If you bought too many laptop stickers to fit on your computer, fear not. Besides the laptop stickers, pick up a pack of colored index cards for this project. Place the stickers onto the side of the index cards without the lines and then cut the card to fit the size of the sticker. Tape the index cards anywhere on your wall or your dresser to add a fun pop of color. As another option, use the stickers on the index cards as cute and personalized bookmarks.
5. Cork board
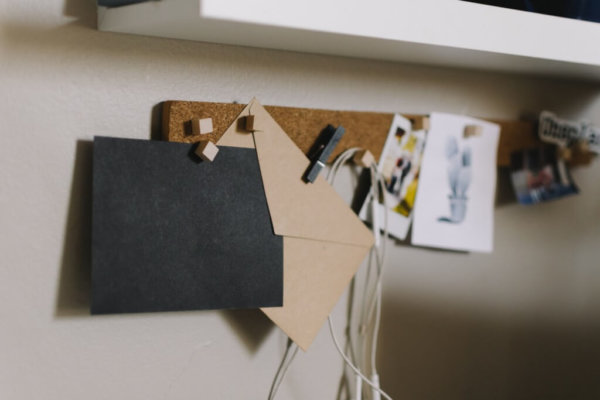
If you find yourself shoving ticket stubs and other tiny yet precious mementos in a drawer, this DIY cork board will help to keep them organized and put them on display. At the craft store, you can find a variety of sizes of cork to make your cork board. Decorate the cork however your heart desires with sharpies, stickers, ribbon and fun thumb tacks. Attach the cork anywhere on your wall with Velcro command strips and display your pictures, ticket stubs and more.
6. Sharpie mug
Whether you pick coffee, tea or hot chocolate as your preferred poison, you need mugs in your life. Create your own personalized mug with this DIY sharpie mug. You can find the supplies for this project—a solid colored mug and Sharpies—at the dollar store. Make sure to use an oil-based Sharpie. Let your artistic side shine through by drawing any design on the mug. If you need inspiration, look around to designs from your everyday life or movies and TV shows you love. Once you complete your Sharpie mug, use it for fueling your all-nighters, reviving you for 8 a.m. classes or for storage on top of your desk.
7. Washi tape on canvas
Do you feel as uncomfortable holding a paintbrush as a freshman does at their first college party? Look no further than washi tape to design on your canvas art without painting. If you mess up while creating your project, don’t worry. You can easily remove washi tape from any surface. You can find washi tape and canvases at stores like Target, Etsy, the Dollar Store and many others for a very inexpensive price. The video above goes into step-by-step detail on how to make a cool design using washi tape. You don’t need to create a design as intricate as the one in this video. You could just follow the first few steps and keep your design simple.
8. Origami
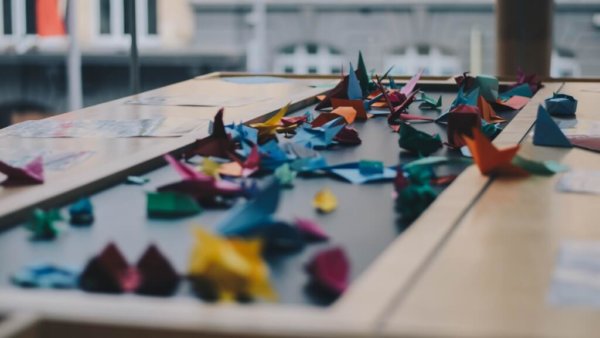
Everyone watches others nail the art of paper folding, but ends up with a crumpled ball of paper themselves when they first try origami. Whether consider yourself a beginner or a seasoned origamist, you can find designs for all skill levels. Just try to find the patience for multiple attempts too. Create practical origami, such as pouches and gift boxes or make cute decorations. Take a trip to your local craft store to buy some square-shaped paper. Buy fun and colorful paper that will get you excited to create origami.
9. Dry erase calendar
Life gets a little chaotic at times for everyone. Keep a variety of calendars and planners on hand to keep your life in order. Stay organized with style using this DIY dry erase calendar. You’ll need a large dry erase board, duct tape, a permanent marker and a dry erase marker. You could also substitute the duct tape for washi tape. Divide up the dry erase board into the format of a calendar first with a dry erase marker, and then with the tape. Use different colors of tape and markers to make your calendar pop. “Using simple craft supplies to decorate the calendar makes it fun to keep organized,” Temple senior Julia Barbuto said. Personalize the calendar for a fun and creative way to stay organized with flair.
10. Magazine collage with quote
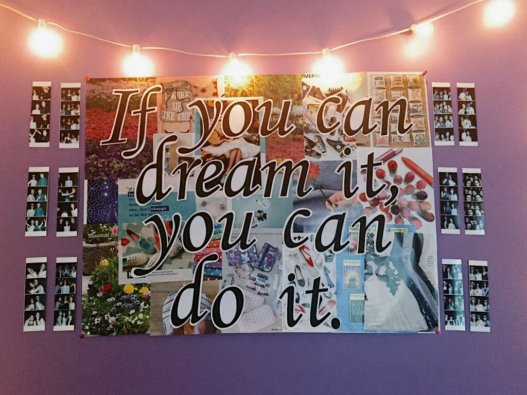
Many people throw out magazines after reading them, but why not repurpose your magazines to make a piece of art? Yes, even—no, especially that Tiger Beat with the Sprouse twins on the cover. With this DIY magazine collage, you can personalize any wall of your room. Rip out your favorite pages from the magazines. Arrange and tape or glue the pages on the posterboard to create a college. Once you finish your collage, pick your favorite quote and print out the letters of that quote in a very large font to tape on top of the collage. This project would look great with or without a quote, so don’t worry if you’d rather leave the collage on its own.
11. Painting With a Twist
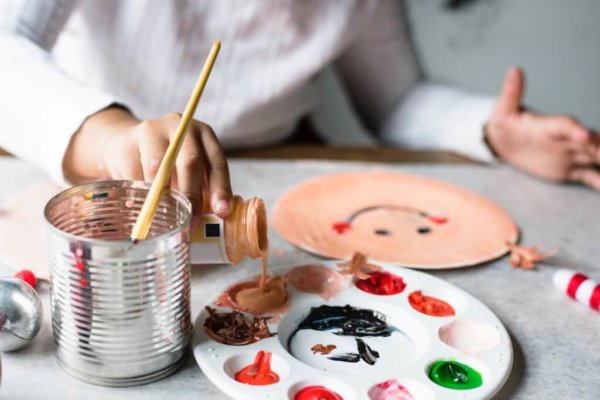
Do you envy your friends who are artistic and can paint something beautiful faster than you can send the perfect Snapchat? Some studios offer step-by-step painting classes so that people of all painting levels can fulfill their dream of becoming an artist. Visit Painting with a Twist in the Philadelphia area for this experience. You can find similar options in other areas as well. Painting with a Twist offers a variety of classes including girls’ night, date night and family night.“Painting with a Twist was a great experience because I always loved painting despite my lack of skill and going there gave me the direction to create something I can be proud of,” Mattia said. You can go with a group of friends or your student organization and paint together. You can BYOB and drink wine while you paint if you are 21 or older.
12. Feature wall/photo wall
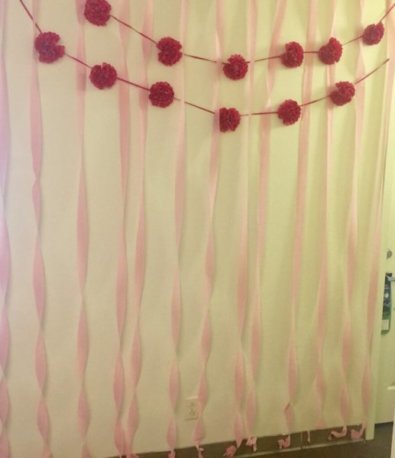
Imagine this: You and your friends get ready together before going out. You all look amazing: hair, makeup and outfits on point. Obviously, you have to take a picture together, but you don’t want to take the picture in front of a boring white wall. Spice up your Insta with supplies you can find at the dollar store. Buy pom pom flowers and streamers. Fluff the pom pom flowers by peeling back each layer of tissue paper. Tape or tack the flowers to the wall in whatever shape you’d like. Tape the streamers at the top of the wall and twist them downward to create a cool spiral affect and then tape them at the bottom of the wall. “The photo wall is something so easy and simple that really brightened up the place. Anytime friends come over, they always want a group picture in front of the DIY wall,” Temple senior Roslyn Mizgorski said.
13. Headboard
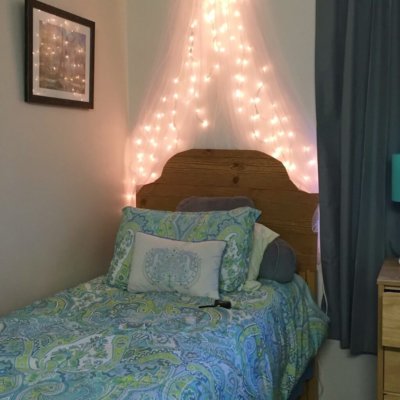
The bed frames of dorm beds emphasize the bland-ness of college dorms. Luckily, you don’t need to stare at your boring bed frame any longer with the DIY headboard. You’ll need a large cardboard box and sticky contact paper. Break down the large cardboard box. Outline the shape that you want your headboard to be with a pencil and then cut the cardboard. Take the contact paper and stick it to the cardboard. Smooth the paper down with a credit card/ID card to get rid of air bubbles. Put Velcro command strips on the back of the cardboard and on the wall above your bed to display your gorgeous new headboard. “The DIY headboard turned out great. Almost everyone thought it was a real headboard made of wood and friends would ask me where I had bought it. They were surprised to hear I made it,” Mizgorski said.
14. Color Me Mine
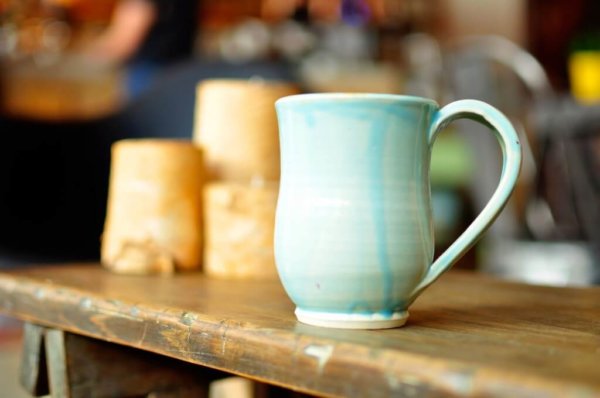
Some people think that only art students can master the art of pottery. Luckily, paint-your-own pottery studios like Color Me Mine exist to do the hard work for you. Choose from a selection of pre-made pottery including bowls, plates, mugs, vases and lots more. Just paint the pottery of your choosing any way you want. Even if you don’t consider yourself artistic, unleash your inner artist at Color Me Mine. You can paint your pottery as simple or intricate as you wish. You paint it, they fire it in the kiln and then you pick it up about a week later. The pottery you create from Color Me Mine makes for beautiful and functional decorations.
15. Pine cone flowers
If you really examine a pinecone, it looks a bit like a flower. This last DIY project builds off of this idea. Create these fun DIY pinecone flowers to add a splash of color to your room. You can likely find pinecones on the ground outside for free (#brokecollegestudent), or you can buy them at the craft store. Use a combination of spray paint and regular paint to design the pine cones to look like flowers. You can paint them for a specific holiday season, to match your school’s colors or to match your room. Trade Netflix for natural touches in your dorm room.

